If you want to be good at basketball, it’s likely you’d spend hours dribbling, working on your layups, and shooting three pointers. Chances are, you wouldn’t go out to play only on Game Day when it’s all on the line, and hope for the best. Personally I’m not much of a ball-sports guy, but the analogy works.
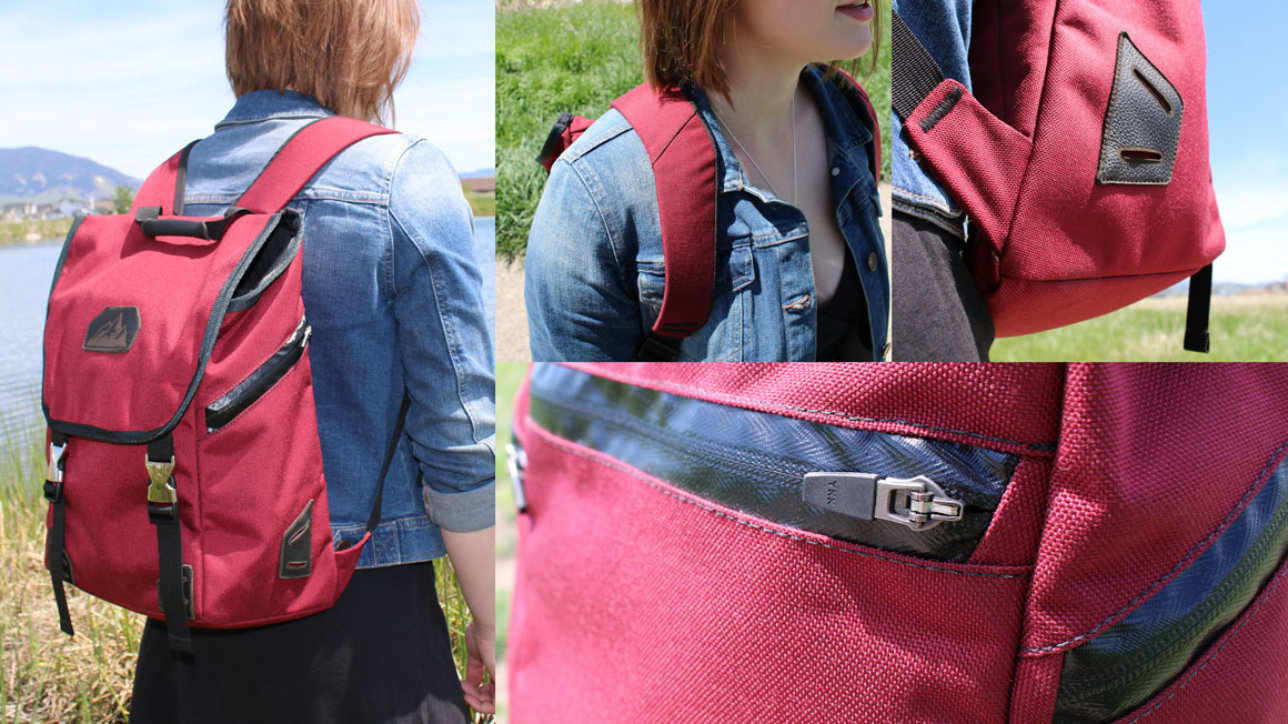
Here at the Salient Soft Goods Department, we stay pretty busy with client projects on a daily basis, but unfortunately, much of that work cannot be shared with the public. Many of the staff members, including myself, still try to make time to keep our skills sharp through continued practice in personal projects. My most recent project is a classic soft goods item: the backpack. Here are some of the individual steps – lets walk through them together.
1. 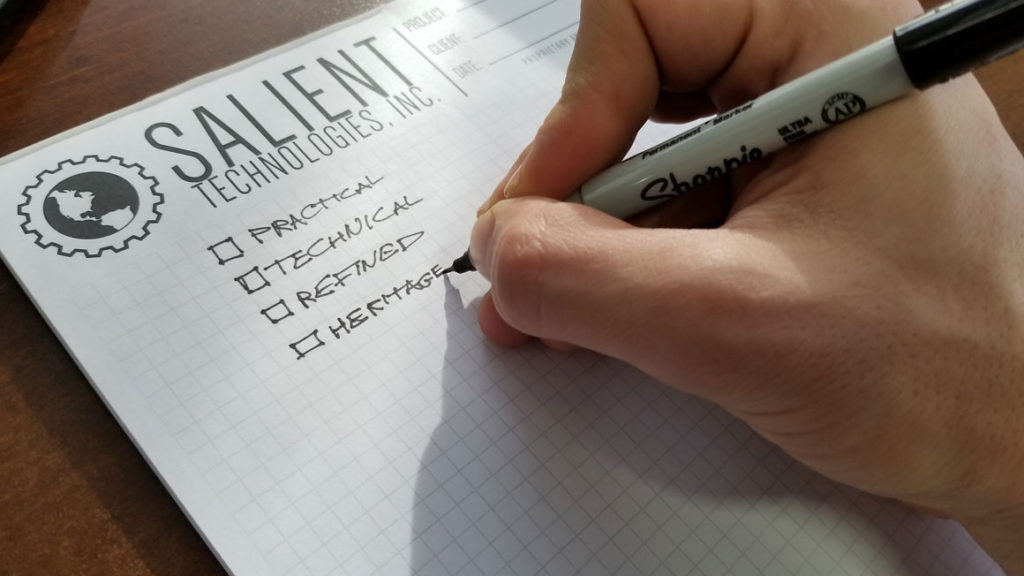 Defining a set of goals, styles, influences and attributes is a great place to start. These items can really help inform the projects direction, feel, and vision; and they can be used as a benchmark for individual questions and construction details later on.
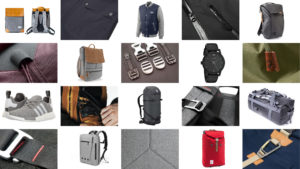
2. A mood board or inspiration sheet allows you to examine different industries, specific materials, and any other items you might feel compelled to draw creativity from.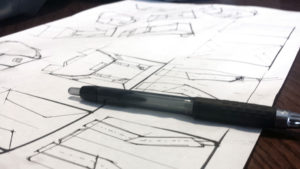
3. Sketch, sketch, sketch! I chose to focus on angular planes and shapes with rounded aspects dispersed throughout.
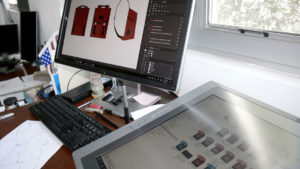
4. Define the basic dimensions. This can be done with paper/cardboard or computer programs – if you have access and knowledge.
5. Illustrate, define panels and construction details, pattern, and prepare to start fabrication. Alignment notches are your friends – use them! Patterning is an art in and of itself.
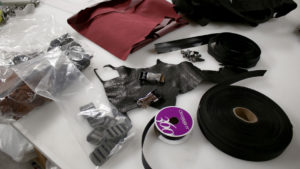
6. Gather materials and hardware. Local sources will have some items and can be a good start point, however, unless you have access to a specialty retailer, the internet might be the easiest place to purchase more technically oriented materials.
7. Cut and prepare materials. Laser cutters are amazingly accurate and fast tools, but good ol’ scissors have served well for many years prior to fancy, modern equipment.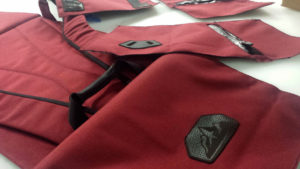
8. Work backwards. Some seams and operations need to be done before others, and there is often a defined sequence that needs to be considered and worked through before sewing can begin.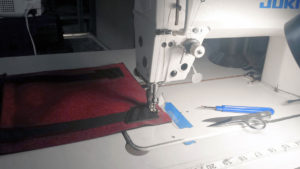
9. Build. If individual panels or areas did not go as anticipated, they can be rebuilt – you might not need to finish the whole project first. And depending on the situation, you can learn more and push the project forward by learning from your mistakes. Few seams cannot be undone with a seam ripper (even if it is annoying and a step backward).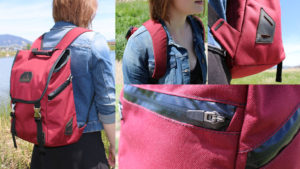
10. Use the result of all your hard work. First hand observation and testing is the best way to evaluate the overall effectiveness. Is it a good solution to the problem or goal? Evaluate the outcome – the good and bad; what went well, what was tough, what could go better next time – and improve on those aspects!
Document the final results and the process, for yourself and for others. Experiment, modify, and ultimately have fun! Sewing and the world of soft goods is a unique set of skills and knowledge, but the more you practice, the better and quicker projects will move along. Thanks for reading!
-Kirk Turner
Kirk Turner is an Industrial Designer, and has been bringing his brand of expertise to the Salient Team since 2015.

